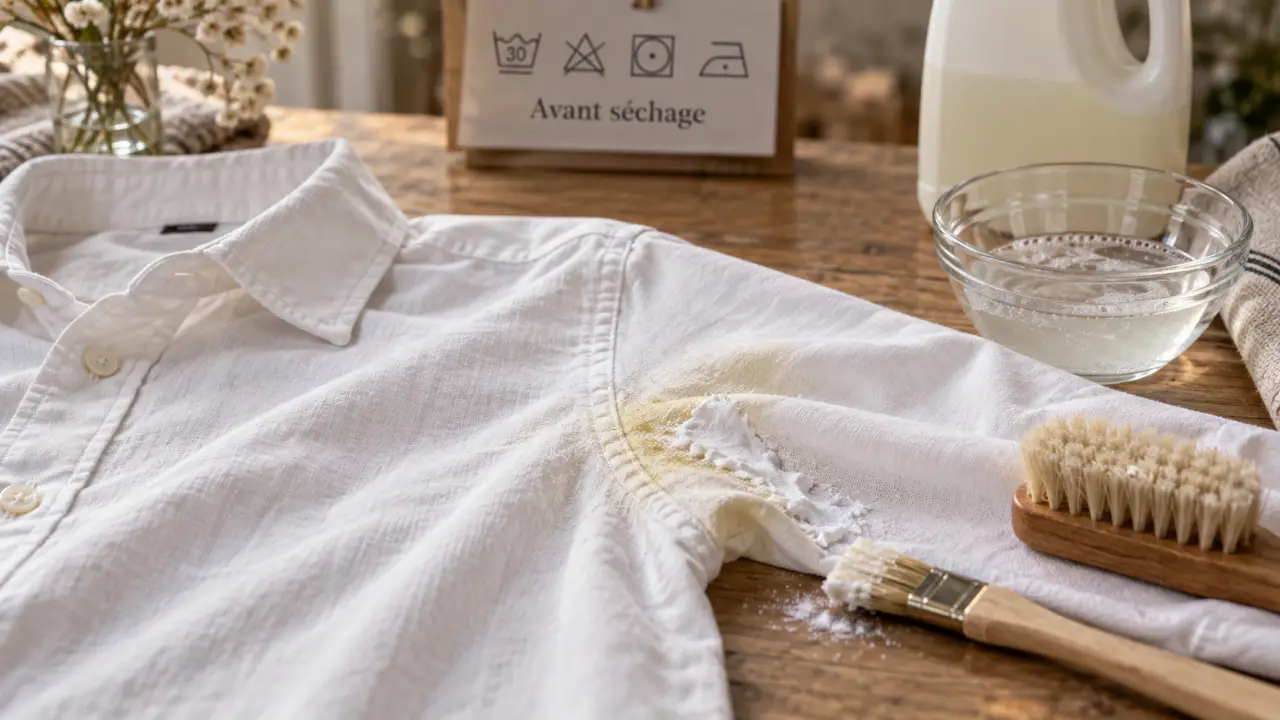
Yellow underarm marks can make a clean white shirt look worn. Most perspiration stains can be improved at home if you treat them before heat sets them into the fibres. Choose a method that suits the stain and fabric, wash the shirt, then inspect it while it is still damp before deciding whether to treat it again.
Choose the treatment by the age of the stain
Perspiration stains come from more than sweat. Body oils and antiperspirant residue, especially from products containing aluminium, can react in the fabric and leave yellow, stiff patches. A fresh mark often responds to detergent or vinegar. An older, set-in stain may need a paste or an oxygen bleach soak.
| Stain condition | Best first option | When to move on |
|---|---|---|
| Fresh, faint yellowing | Liquid laundry detergent or vinegar soak | If the mark remains after one wash |
| Visible yellow patch | Baking soda and hydrogen peroxide paste | If the fabric still looks dull once air-dried |
| Old or repeated underarm staining | Oxygen bleach soak | Repeat once after checking the care label |
| Delicate fabric or printed shirt | Gentle detergent pretreatment | Use a specialist cleaner if needed |
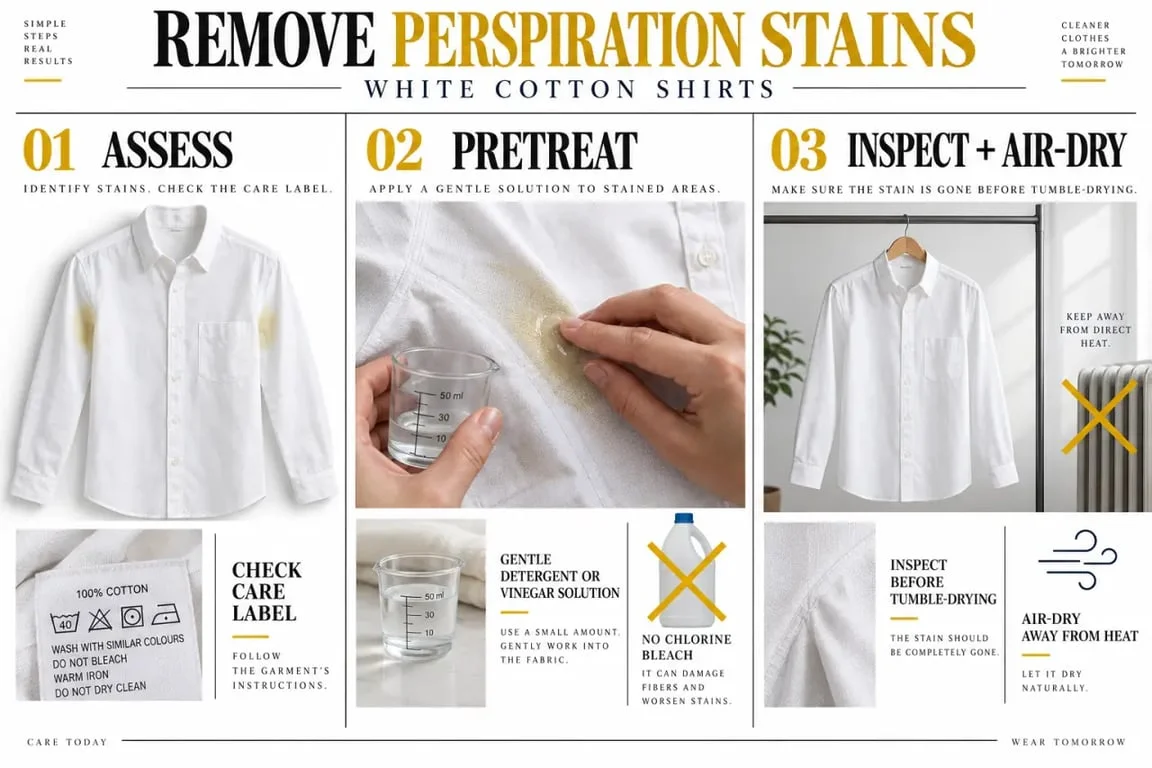
Read the garment’s care label and test any treatment on a hidden seam. Silk, wool and shirts with delicate trims need more care than plain cotton. A white garment is not automatically suitable for every whitening product.
Remove fresh perspiration stains with a simple soak
Use vinegar for light, recent marks
For a shirt worn once or washed recently, mix one cup of white vinegar with two cups of warm water. Soak the underarm area for around 30 minutes, gently working the solution through the fabric with your fingers. Rinse thoroughly, apply your usual liquid laundry detergent directly to the mark, and wash according to the care label.
Warm water generally lifts body oils more effectively than cold water, but it should still match the temperature recommended for the shirt. Vinegar can loosen residue, but it is not a complete solution for deeply embedded yellowing. Use it as a sensible first step rather than the strongest treatment.
Use detergent when the fabric needs a gentler approach
For a lightweight shirt, a blended fabric or a printed garment, apply liquid laundry detergent to the damp stain and leave it to work before washing. You can use a soft toothbrush or small brush, but keep the pressure light. Aggressive scrubbing can roughen cotton and make the underarm area look faded.
Lift set-in yellow stains with a paste or oxygen bleach
Make a targeted stain paste
On plain white, washable fabric, a baking soda paste gives a stubborn stain more contact time. Mix 1 tablespoon of hydrogen peroxide, 1 tablespoon of salt and 1/2 cup of baking soda. Apply the paste to the dry or slightly damp underarm area, work it in gently with a small brush, and leave it for at least an hour before washing.
Hydrogen peroxide can brighten white fabric, but use it carefully. Do not apply it blindly to coloured stitching, prints or delicate fibres. Rinse the paste away if it begins to dry hard on the shirt, then wash the garment according to the label.
Use oxygen bleach for recurring stains
If yellowing has built up over several wears, soak the shirt in oxygen bleach mixed with warm water. Follow the product instructions and the garment label. Some treatments sit for several hours or overnight. Oxygen bleach is generally a more fabric-friendly option than chlorine bleach for washable whites, but a longer soak is not always better. Check the shirt periodically.
Treat the shirt in stages. First remove deodorant and oil residue with detergent or a soak. Then assess the remaining colour before using a brightening treatment. Applying several products at once can leave more residue, make rinsing harder and prevent you from knowing which method worked.
Do not make these mistakes during treatment
- Do not use chlorine bleach as your default solution. It can worsen yellowing linked to perspiration residue and may weaken the fabric.
- Do not mix vinegar and hydrogen peroxide. Use them in separate treatments, with a thorough rinse between them.
- Do not put the shirt in the dryer while the stain remains. Dryer heat can set the discolouration and make removal much harder.
- Do not judge the result while the shirt is wet. Air-dry it first, because damp fabric can hide a remaining yellow shadow.
If the mark remains after the first attempt, repeat the same suitable treatment instead of combining several strong products. For persistent odour as well as staining, an enzyme-based stain remover can be useful because it is designed to break down organic residue.
Keep white shirts clearer between washes
Prevention is often easier than restoring a heavily stained shirt. Let deodorant or antiperspirant dry fully before dressing, especially with close-fitting white shirts. If you notice heavy residue around the underarms after washing, consider changing product or using less. More product does not necessarily provide better protection.
- Wash white shirts within one week of wearing them instead of leaving them in the laundry pile.
- Apply a small amount of liquid detergent to the underarms before routine washing if stains recur.
- Wear a breathable undershirt during prolonged heat, physical activity or a stressful day.
- Air-dry shirts in daylight when possible, but avoid prolonged harsh sun that may stress delicate fabric.
Quick treatment and a careful check before drying can make noticeable underarm stains far less visible. The most reliable approach is to match the method to the fabric, allow enough time for it to work and avoid heat until the stain has disappeared.
{“@type”:”Article”,”@context”:”https://schema.org”,”headline”:”How to Remove Perspiration Stains from a White Shirt Without Setting Them in the Dryer”,”inLanguage”:”en-US”,”description”:”Yellow underarm marks can make a clean white shirt look worn. Most perspiration stains can be improved at home if you treat them before heat sets them into the fibres. Choose a…”}
Use the safest cleaning method first
Cleaning works best when you start with the least aggressive method that can solve the problem. Test products on a small hidden area, read the label, and give the cleaner enough contact time before scrubbing harder. Many stains become worse when heat, bleach or the wrong acid is used too early.
Never mix cleaning products unless the label clearly says it is safe. Bleach, ammonia, vinegar, peroxide and descaling products can react badly in the wrong combination. When in doubt, rinse the surface, ventilate the room and switch to a simpler method before trying another chemical.
Related guides to continue
To build a stronger understanding of this topic, continue with these related guides from the same site. They cover nearby decisions, maintenance points and practical details that often influence the final result.